
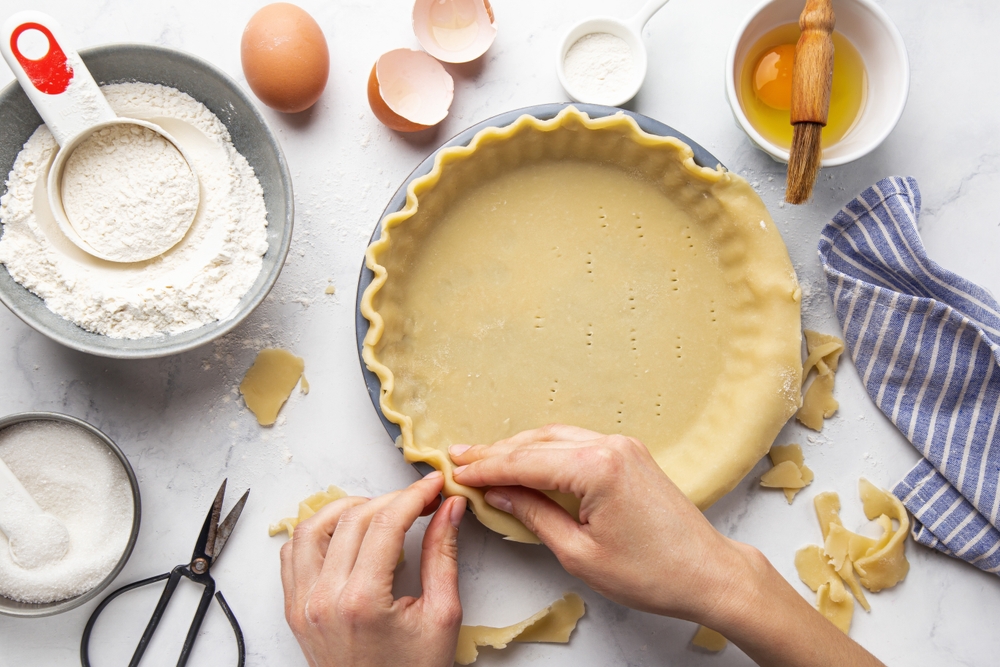
Nothing is more disappointing than pulling a beautiful pie out of the oven only to discover sticky filling bubbling onto the baking sheet or a soggy bottom crust. The good news? Most pie crust leaks are completely preventable with a few simple techniques before your pie ever goes into the oven.
Whether you’re baking a juicy berry pie, a classic apple pie, or a rich pumpkin pie, taking a little extra care during preparation can save you from messy spills and ensure a perfectly baked dessert.
Here are the best ways to prevent pie crust leaks before they happen.
Start With a Properly Chilled Dough
One of the biggest secrets to a sturdy pie crust is keeping it cold.
Cold butter or shortening creates flaky layers while helping the dough hold its shape during baking. If the dough becomes too warm before it goes into the oven, it softens and is more likely to stretch, tear, or shrink.
For best results:
- Chill the dough for at least one hour before rolling.
- If it starts feeling soft while you’re working, place it back in the refrigerator for 15 to 20 minutes.
- Chill the assembled pie before baking, especially on warm days.
Roll the Dough Evenly
Uneven dough creates weak spots that can split under the weight of the filling.
Aim for a crust that’s about ⅛ inch thick throughout. Rolling too thin increases the chance of tears, while overly thick edges may bake unevenly.
Rotate the dough as you roll to maintain a consistent thickness and prevent sticking.
Don’t Stretch the Dough Into the Pan
It can be tempting to pull the crust so it fits neatly into the pie dish, but stretching causes the dough to shrink back as it bakes. This movement can create cracks or gaps where filling escapes.
Instead:
- Gently lower the dough into the pie dish.
- Press it lightly into the corners without pulling.
- Trim excess dough only after it has settled naturally.
Repair Small Tears Immediately
Tiny cracks may seem harmless, but they often become leak points in the oven.
If you notice a tear:
- Pinch it back together.
- Patch larger holes with a small piece of leftover dough.
- Lightly moisten the area with water before pressing the patch into place.
These quick fixes help create a stronger barrier for juicy fillings.
Seal the Top and Bottom Crust Properly
Double-crust pies need a secure seal around the edges.
After adding the filling:
- Brush the edge of the bottom crust lightly with water or beaten egg.
- Place the top crust over the filling.
- Press both layers together firmly.
- Crimp or flute the edges to create a decorative but tight seal.
A good seal keeps bubbling juices where they belong.
Avoid Overfilling the Pie
More filling isn’t always better.
As fruit cooks, it releases juices that expand and bubble. Overfilled pies are much more likely to overflow, even with a well-made crust.
Leave about ½ inch of space below the edge of the crust so the filling has room to bubble without spilling over.
Thicken Fruit Fillings Correctly
Watery fillings are one of the most common reasons pies leak.
Fresh fruits release different amounts of liquid depending on the season and variety. Using the right thickener helps keep juices inside the pie instead of running through the crust.
Popular options include:
- Cornstarch
- Tapioca starch
- Instant tapioca
- Flour (for some traditional recipes)
Follow your recipe’s recommended amount rather than guessing.
Cut Steam Vents
Steam needs somewhere to escape.
Without vents, pressure builds inside the pie, forcing filling to find its own way out through weak spots around the crust.
Use a sharp knife to cut several small slits in the top crust or create decorative cutouts before baking.
Brush the Bottom Crust for Extra Protection
For especially juicy pies, creating a moisture barrier can help prevent sogginess and leaks.
Some bakers brush the bottom crust with:
- Egg white
- A thin layer of melted white chocolate (for sweet pies)
- A light dusting of flour or finely ground nuts
These methods add an extra layer of protection between the crust and filling.
Bake on a Preheated Baking Sheet
A hot baking sheet gives the bottom crust a head start, helping it set before juices have time to soak through.
Place a sturdy baking sheet in the oven while it preheats, then carefully set the pie on the hot surface when baking.
As a bonus, the baking sheet catches any minor drips that might occur.
Let the Pie Cool Completely
Many people cut into pies too soon.
As the pie cools, the filling continues to thicken and set. Slicing while it’s still hot allows juices to run freely, making it seem like the crust leaked even if it didn’t.
Depending on the type of pie, allow it to cool for at least two to four hours before serving.
Choose the Right Pie Dish
The baking dish itself can make a difference.
Glass pie dishes let you monitor browning on the bottom crust, while metal pans conduct heat efficiently for crisp results. Whatever material you choose, avoid forcing oversized crusts into undersized pans, as this increases the risk of splitting.
A leak-free pie isn’t just about luck—it’s all about preparation. Keeping your dough cold, rolling it evenly, sealing the edges carefully, using the right amount of filling, and giving steam an escape route can dramatically improve your results.
With these simple techniques, you’ll spend less time cleaning up baked-on spills and more time enjoying pies with flaky, golden crusts and perfectly contained fillings.